Going solar involves more than placing panels on a roof. A typical project starts with checking whether your home suits solar, then moves through system design, approvals, installation, testing, and a final handover. Knowing what to expect helps you prepare your property, ask useful questions, and understand when the system is ready to use. Exact steps can vary with your roof, electrical setup, local requirements, and the equipment selected.
1. Site assessment
The installer gathers details about your home and electricity use, then checks the roof and electrical setup. The assessment may consider roof condition, available space, direction, shading from trees or nearby buildings, and safe access for the crew. You may be asked for recent power bills or photos of your switchboard. Clear information helps the installer identify practical constraints before recommending equipment.
Ask what the assessment includes and whether anyone needs to visit in person. Flag roof leaks, planned renovations, or changes to your household’s electricity use. If the roof needs repair or reinforcement, it is usually better to address that before panels go on. The installer should explain any site issues and how they could affect the proposed layout or project schedule.
2. System design and approvals
Using the assessment, the installer proposes a system layout and equipment. The design should show where panels will sit and explain key choices, such as the inverter and whether battery storage is included. Ask how shading, roof space, and your typical power use informed the recommendation. Make sure the proposal identifies what is included, what is excluded, and any assumptions that could change the final design.
Before work begins, the installer may need to arrange utility connection steps or other approvals that apply to your property. Requirements can depend on the local network and the system design. Confirm who handles applications, what information you need to provide, and whether approval must come through before installation. Get the expected sequence in writing so you know what is pending and what could affect timing.
3. Installation day
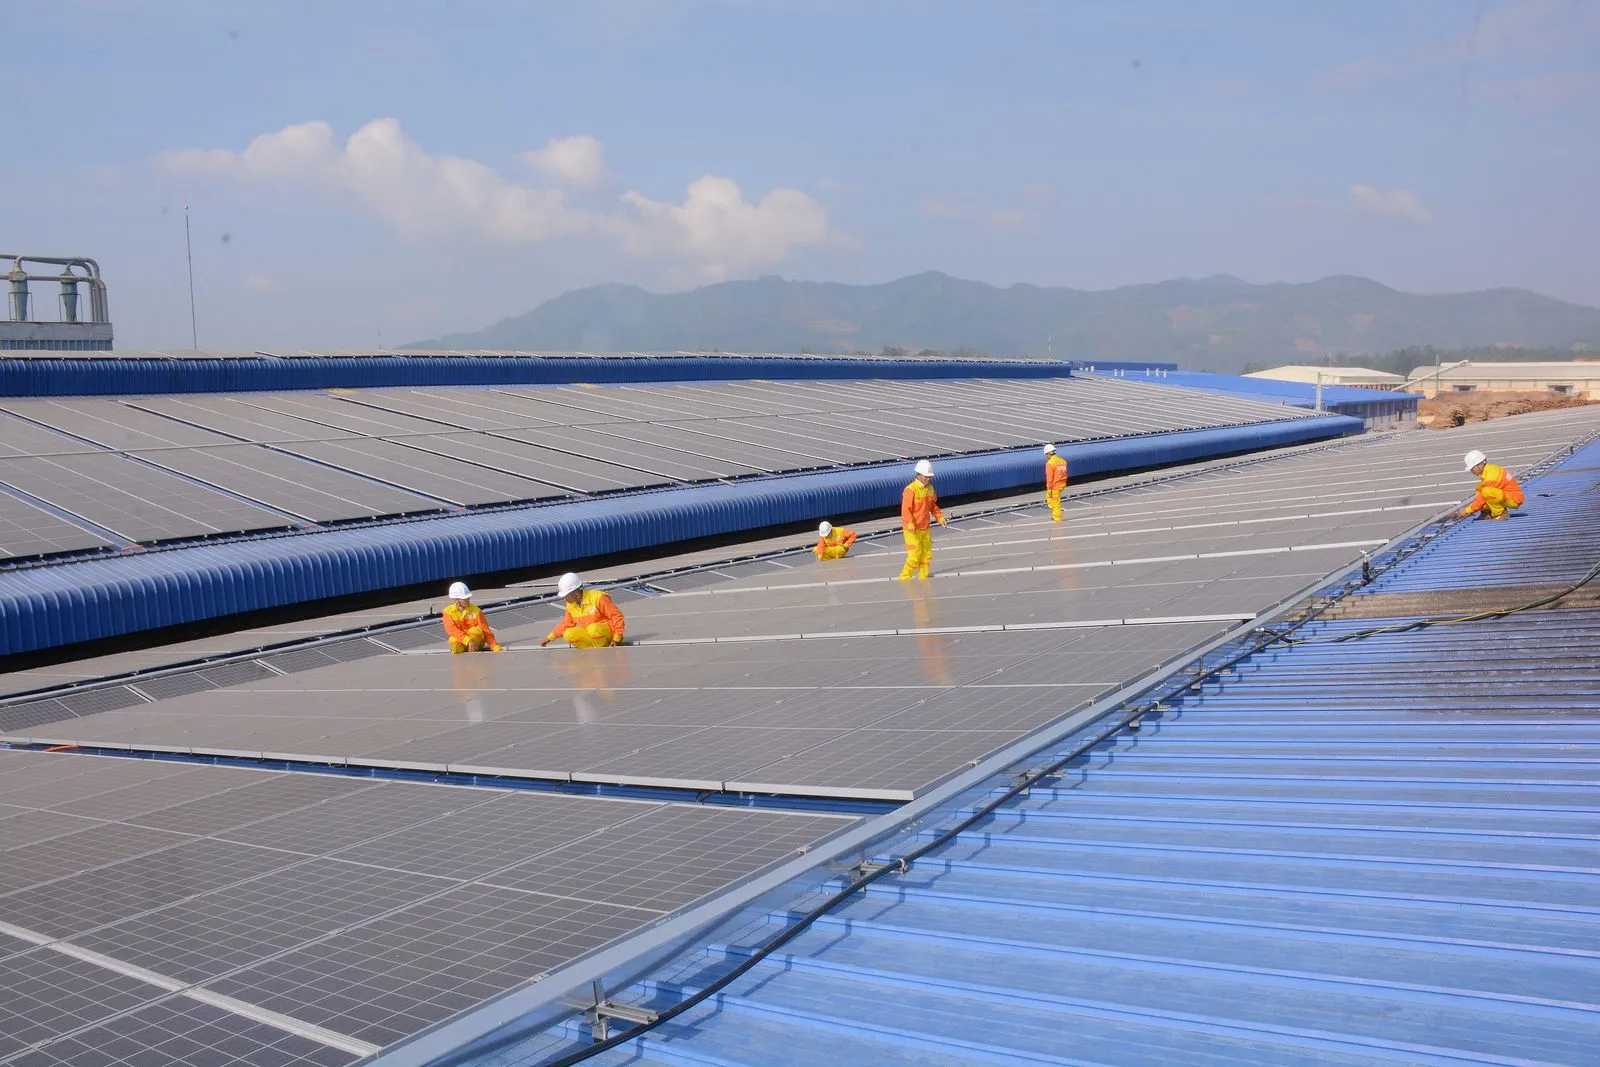
The crew first checks the site and confirms the agreed layout. They install mounting equipment, secure the panels, and connect the system components, including the inverter and any battery in the design. Electrical work must be completed by appropriately qualified professionals and follow applicable safety requirements. The team may need access to the roof, switchboard, and a suitable route for cables, so clear those areas beforehand.
Ask how long the crew expects to be on site, where they will work, and whether power will need to be switched off temporarily. Keep children and pets away from work zones, and tell the crew about access restrictions before they arrive. Weather, roof conditions, or an unexpected electrical issue can affect the day’s plan. A responsible installer should explain any change before proceeding.
4. Testing and handover
After fitting the equipment, the installer checks connections and tests the system before it is put into service, following the relevant technical and network requirements. Ask what checks were completed and whether the system is operating or waiting for a final connection step. If monitoring is included, the installer can show you how to access it and explain what the main readings mean.
Before the crew leaves, request the system documents, equipment details, warranty information, and any required electrical or connection paperwork. Confirm how to contact the installer if an alert appears or performance seems unusual. You should also know which switches or shutdown steps matter in an emergency, and where to find the instructions. Keep the handover material somewhere easy to retrieve.
A solar installation follows a clear path: assess the site, design and approve the system, fit the equipment, then test and hand it over. Before signing, make sure you understand who manages approvals, what the installation includes, and which documents you will receive. Sunny Side Solar can help Auckland homeowners discuss the steps for their property.